#9 Weirdly hopeful capybara
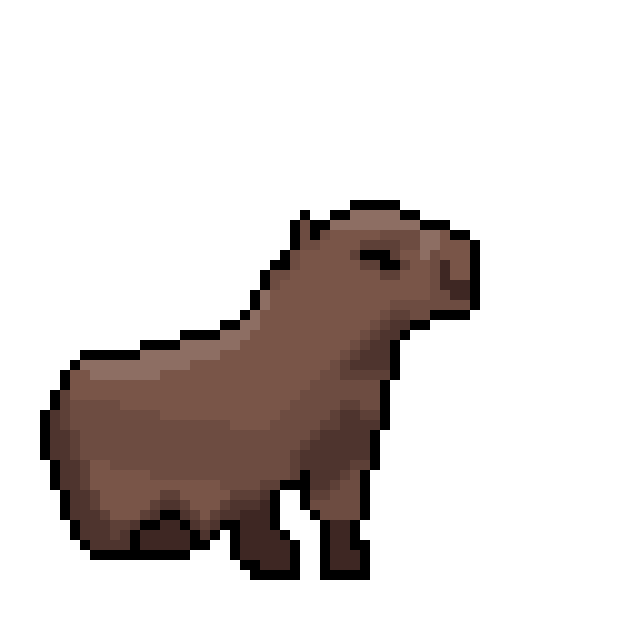
Well... I'm sorry? I went missing for so long. Some part of me wish I could say that something terrible happened: that both of my arms broke, or I miraculously survived an assassination attempt from a person whose son lost sight because of my terrible art. But I have to be honest, I am lazy, disorganized and constantly procrastinate. On the other hand, this whole project was supposed to show that even me can still do something... So let's say it was my first big failure on my path. It will maybe happen to you too. If so, look at me, just because you stumbled does not mean that your work was not worth it and that you can't continue chasing your dream. The ABSOLUTELY WORSE thing you can do is to give up. It does not matter how much you fall down or how long you stayed there, if you are still trying you are the winner. Please, forgive me for this disappearance. It will happen again... But I will come back! No mater what! That's my promise to you! I will not leave you!
A smaller but incredibly important talk here. Let's just say that during my break something happened, but instead of terrible it was amazing, more than that, even life-saving. I don't want to get into more details, but just remember this thing for me. DO NOT LOSE HOPE. No matter how bad the situation looks, now deep you are and how little chance of success there is, never stop looking for a possible solution. The miracles happen, really! You just need to keep your eyes open for them!
Now to the drawing. As I said in the announcement, the form changed a little. It's decently not perfect, but it just means it fits perfectly on this website.
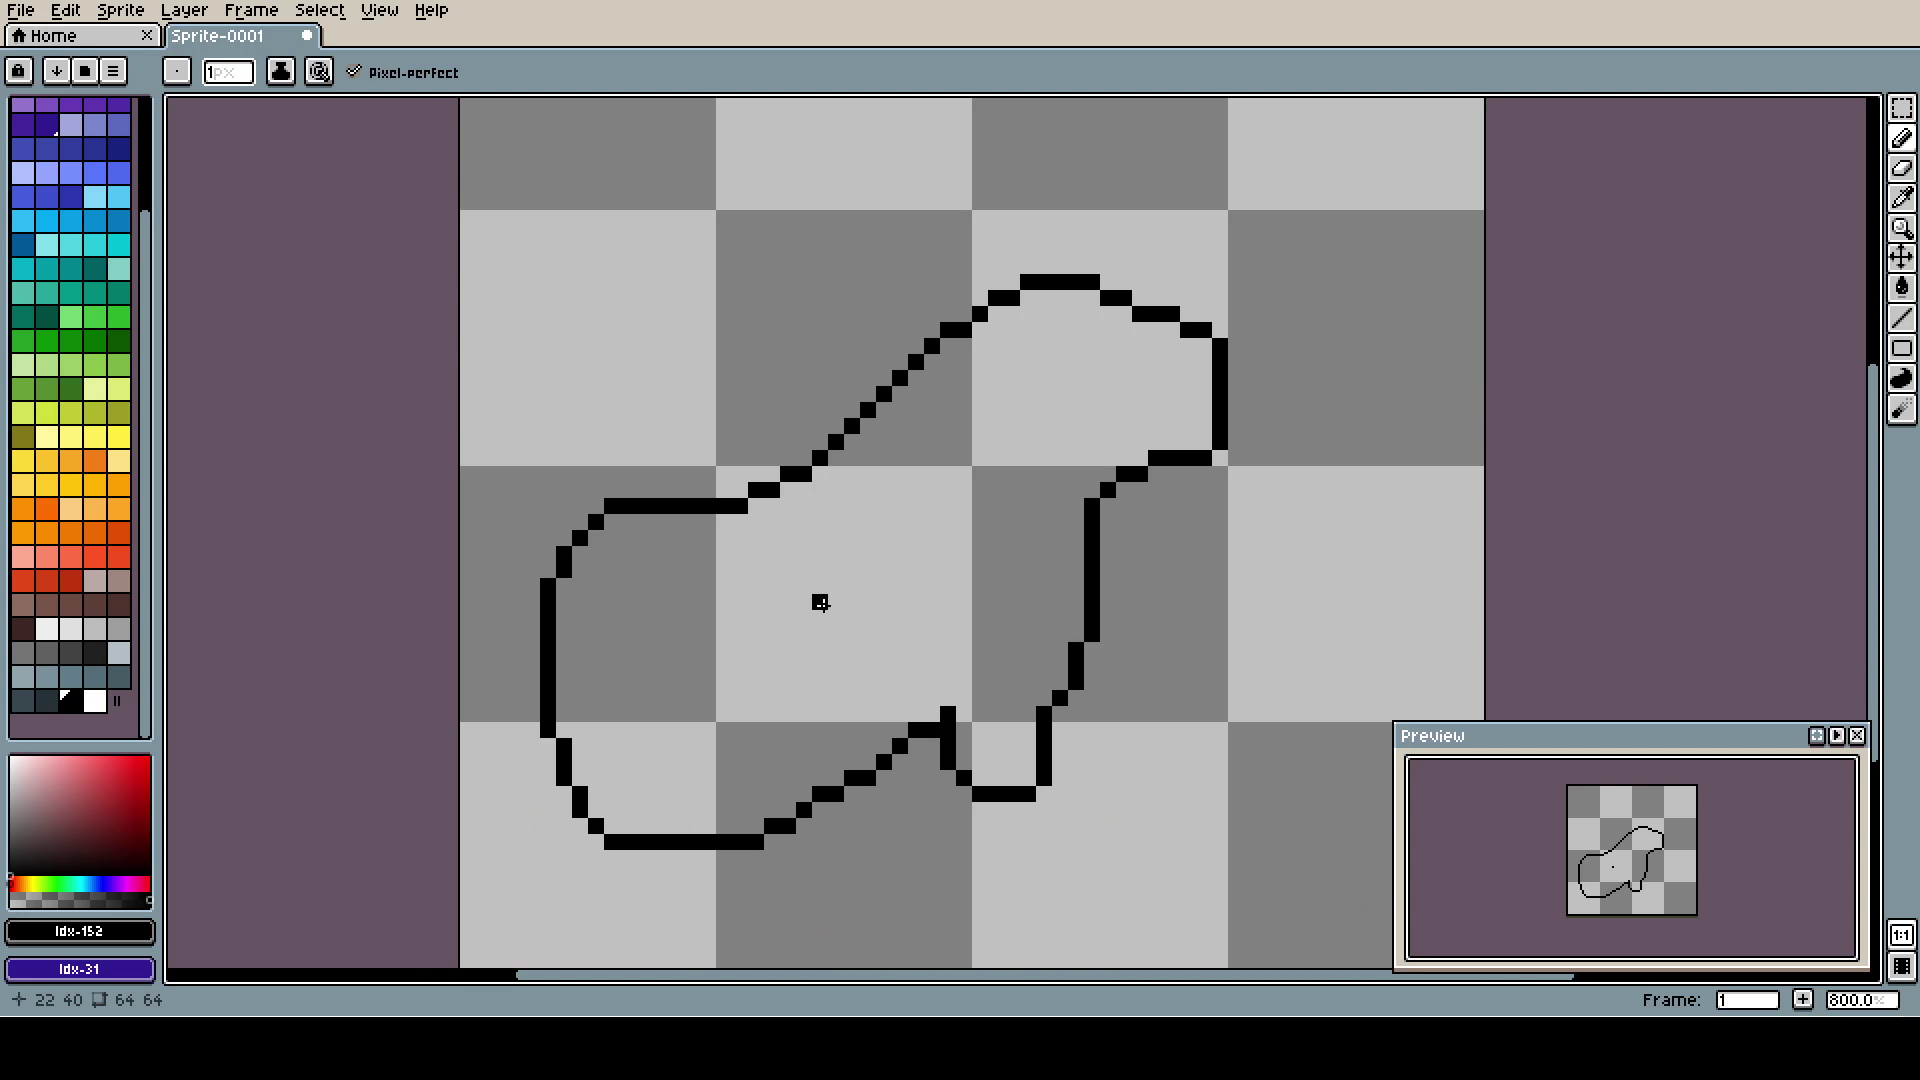
This was my first time using Aseprite, but the drill is all the same. At the start, the rough shape.
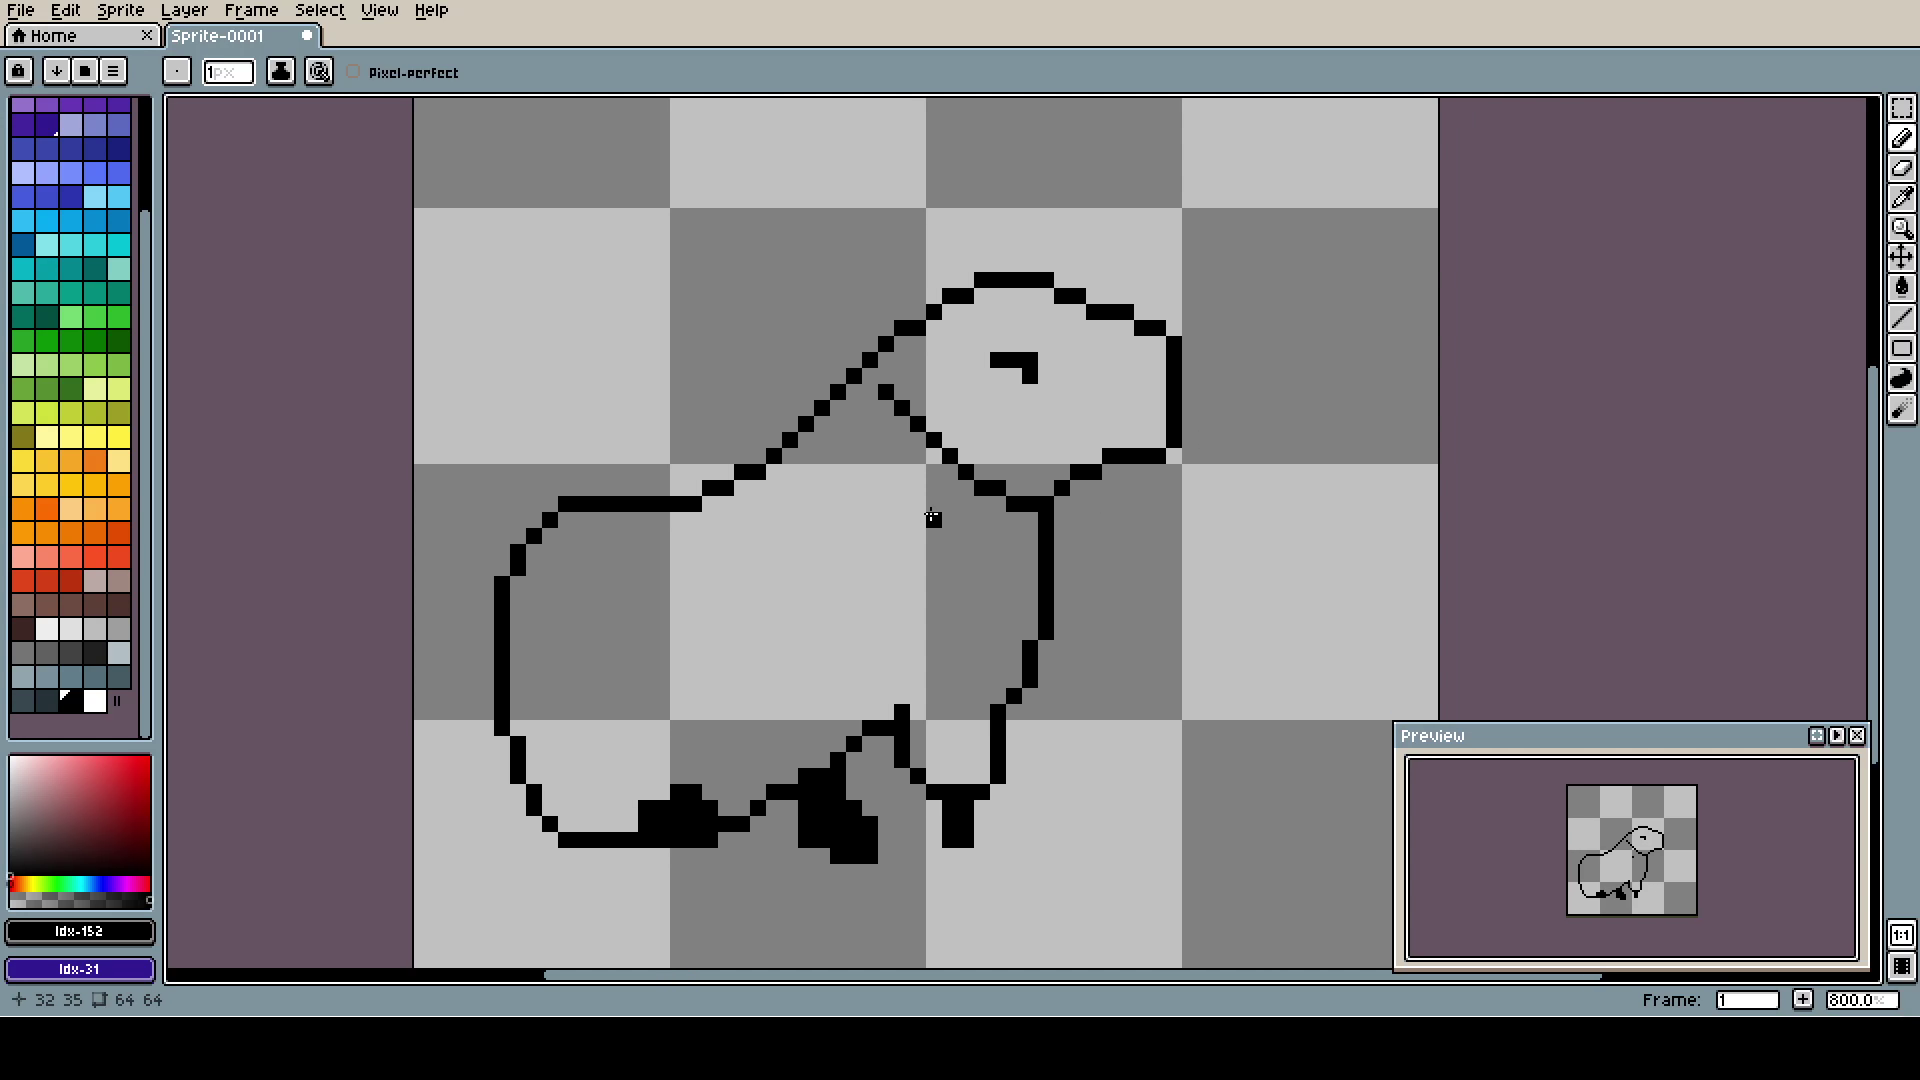
Later we add the details, not exactly how they are going to look, but to know if the proportions are right and if something needs more space.
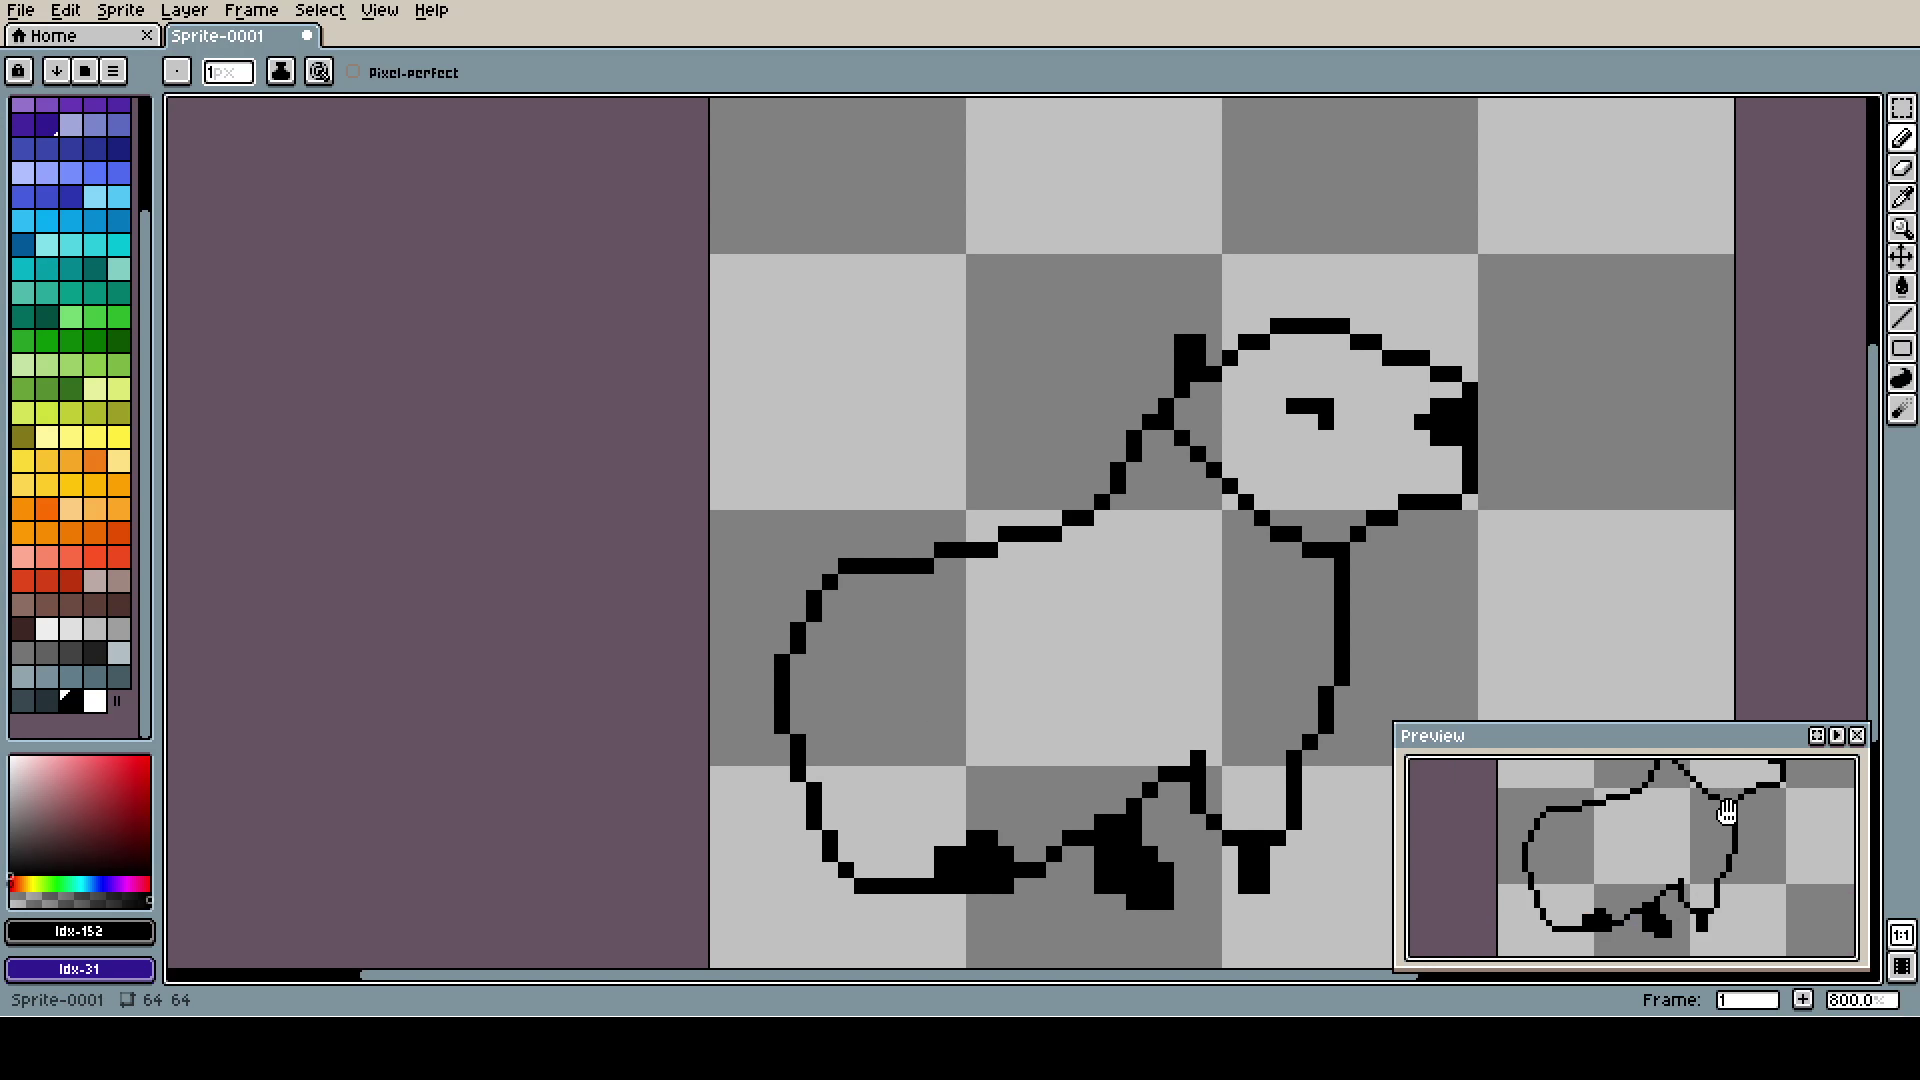
Like here, because I added little ear shape I knew that I have to change the neck to make it look better.
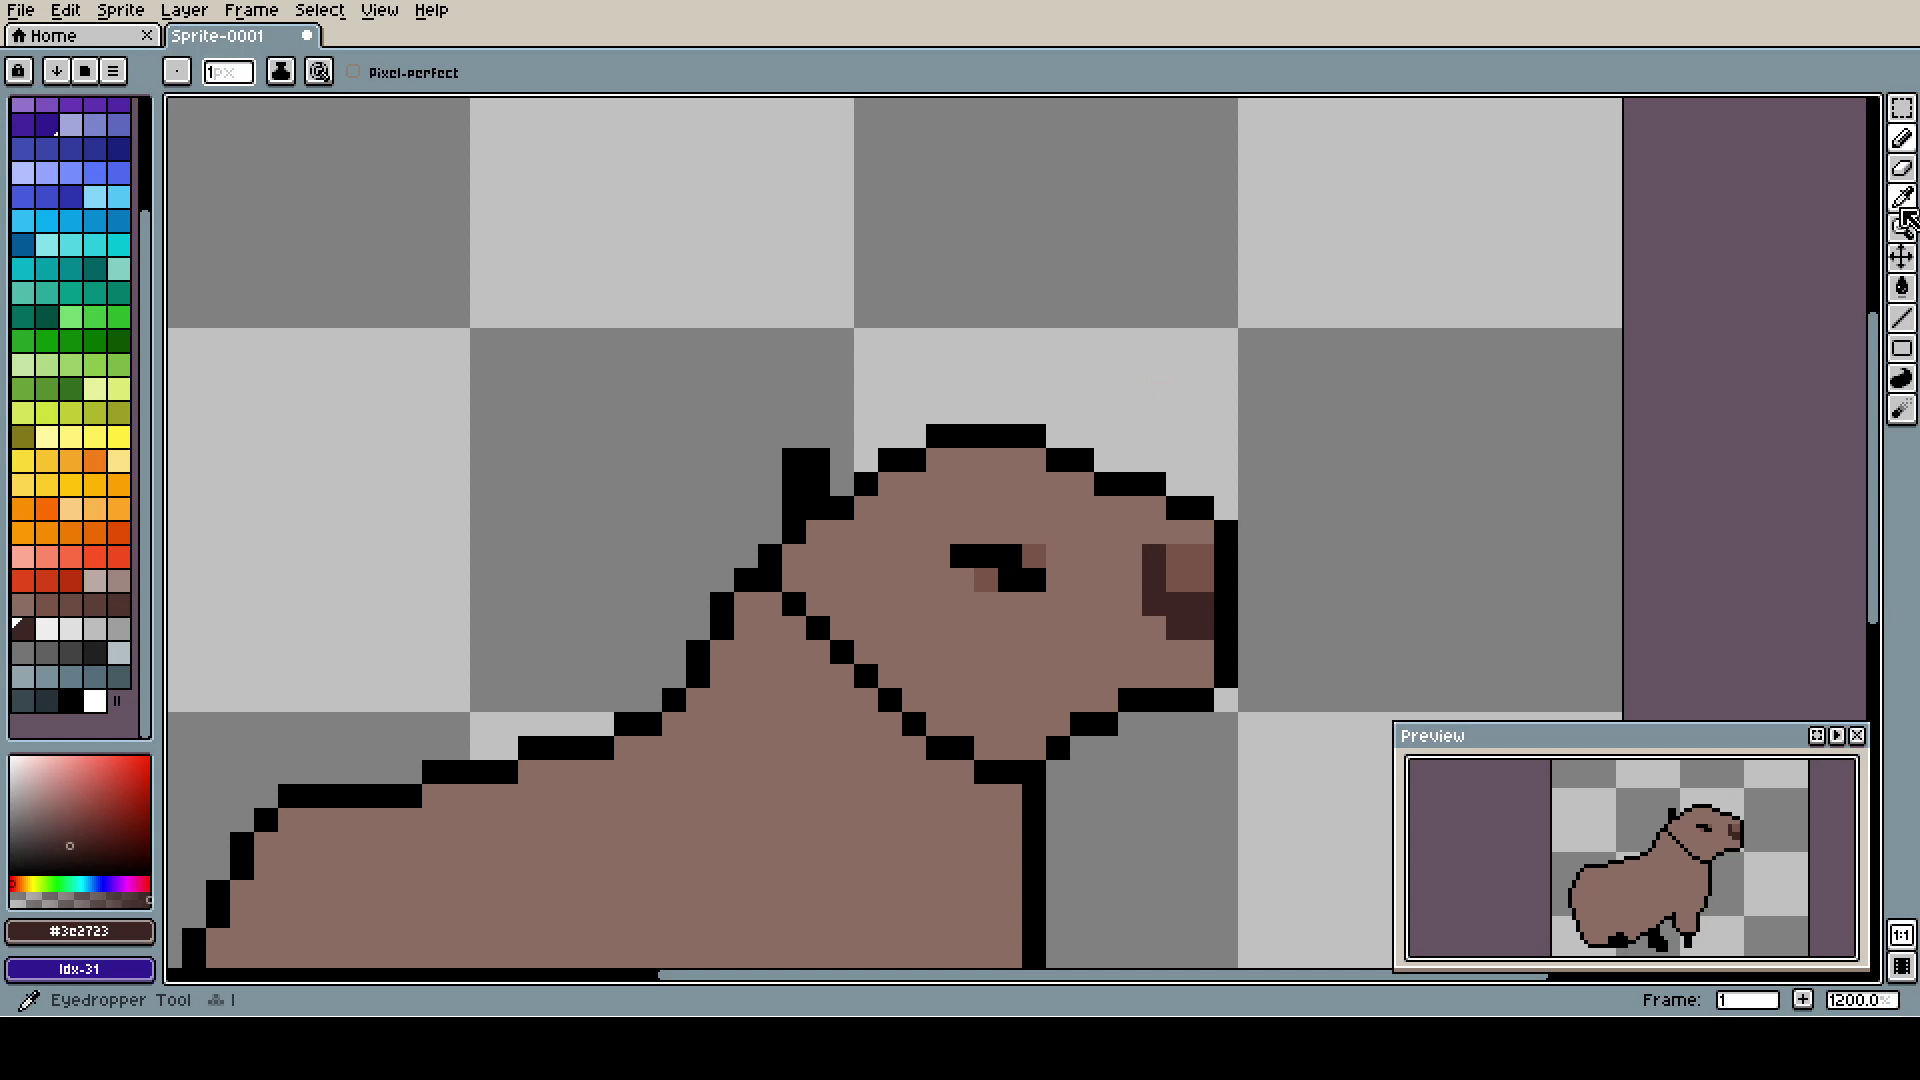
The first colors are always semi-random. Just pick whatever looks nice and go with it. You will only discover if the tone is right after you add more details.
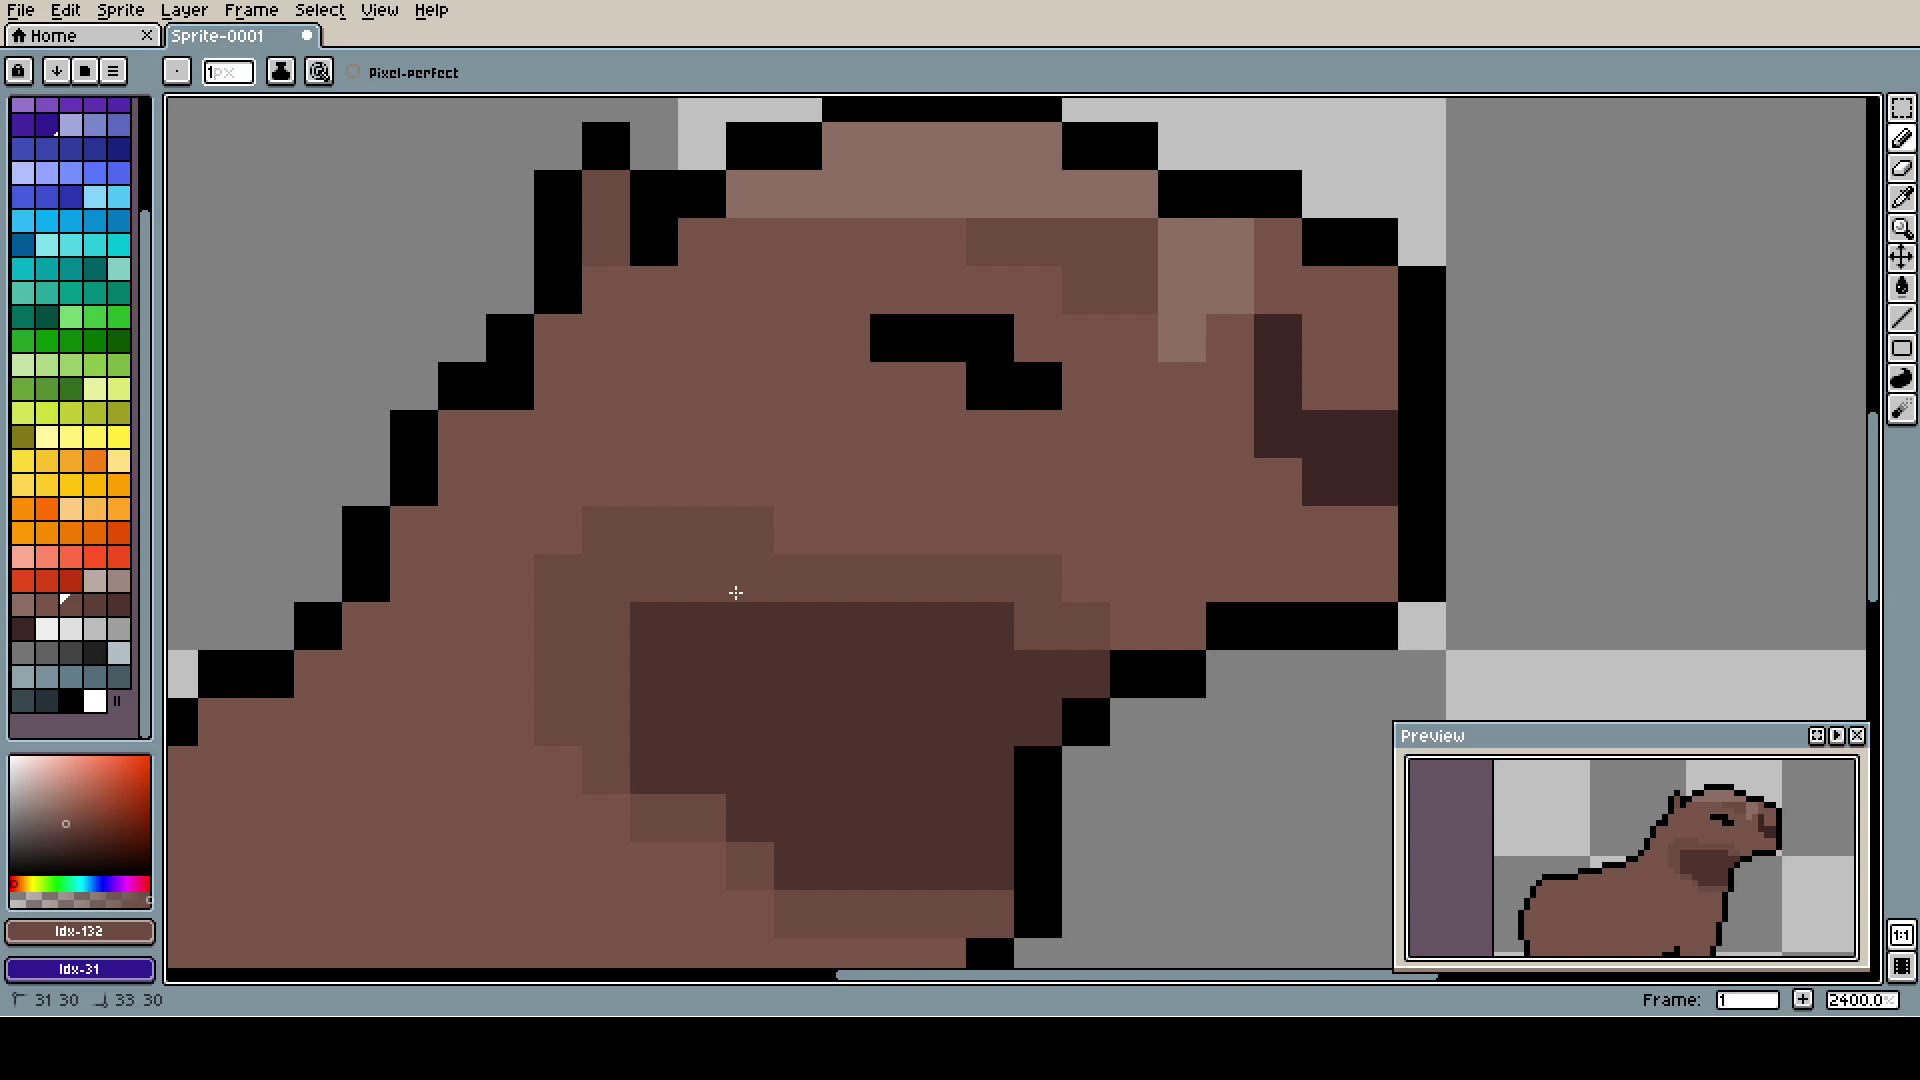
Shading on this piece is questionable, do not try to make sens of it.
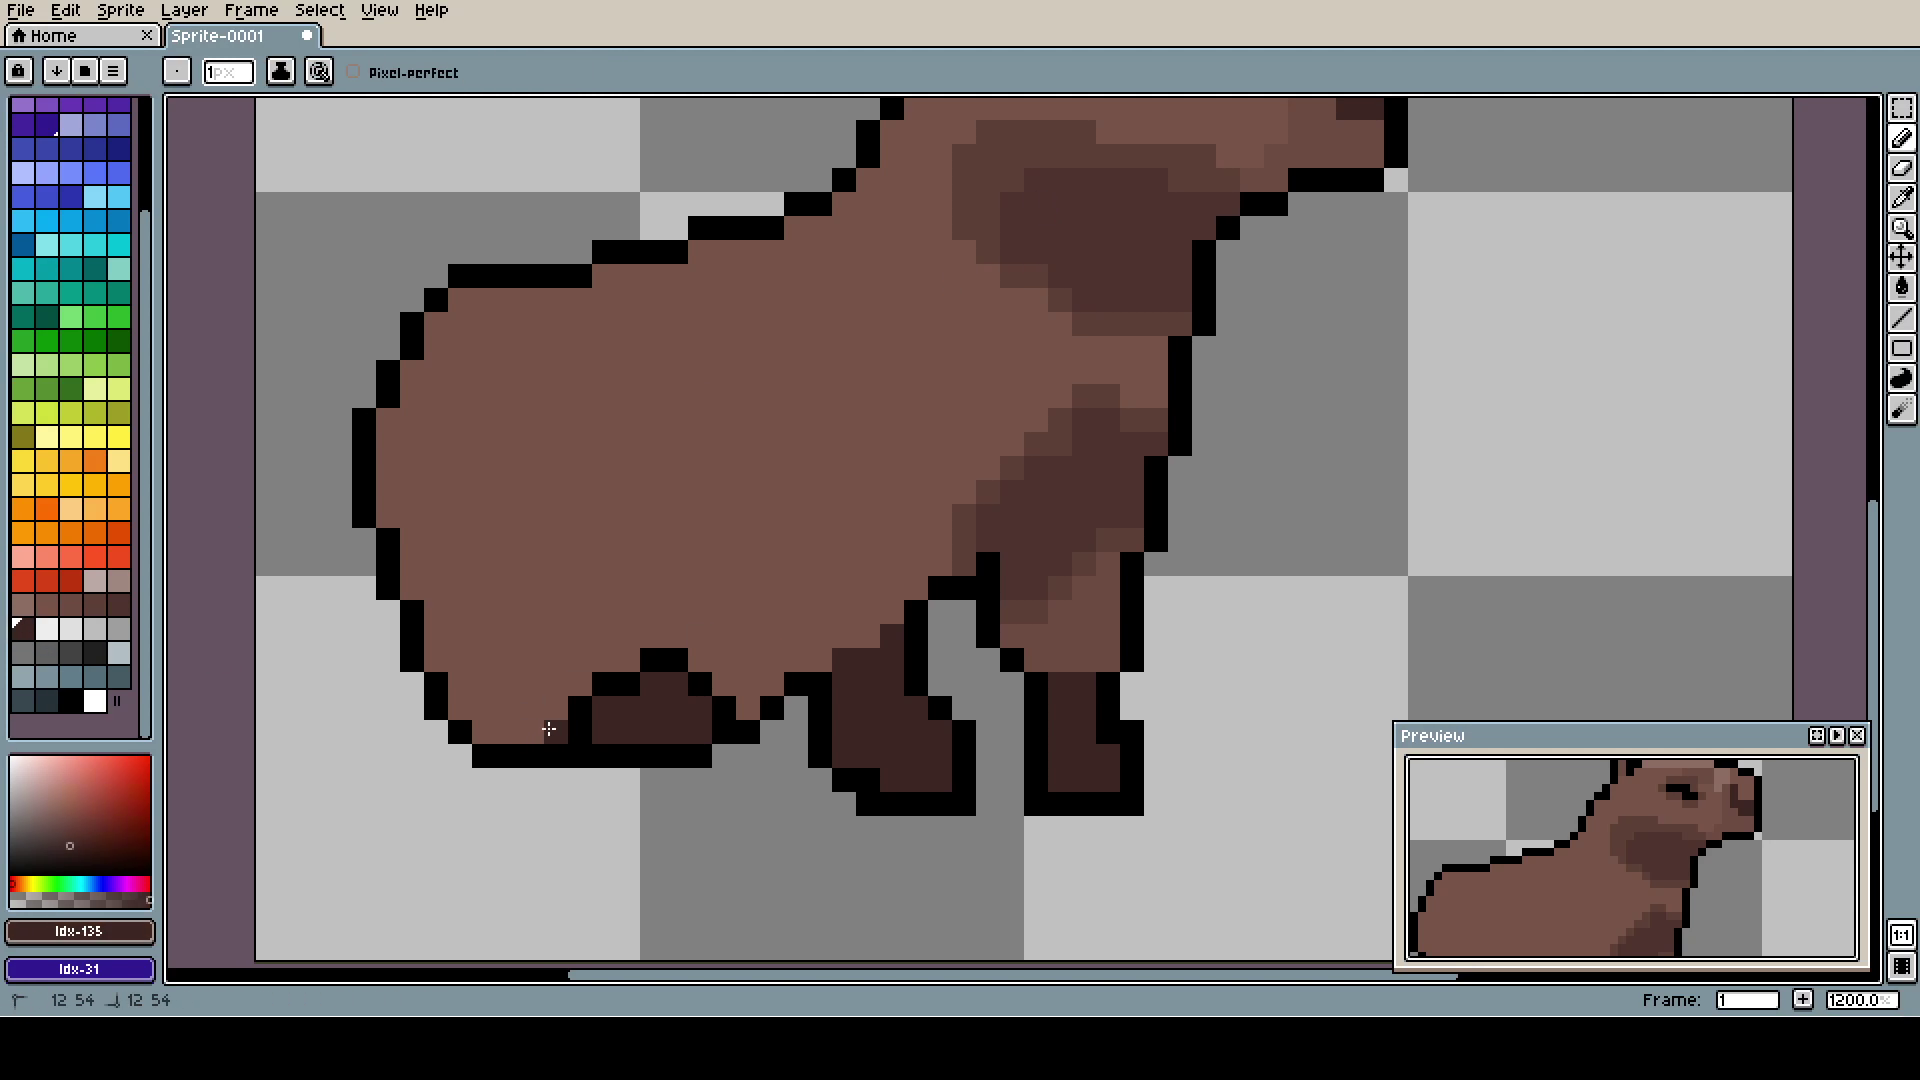
These brown stains have some purpose, I'm sure... just not exactly what it is.
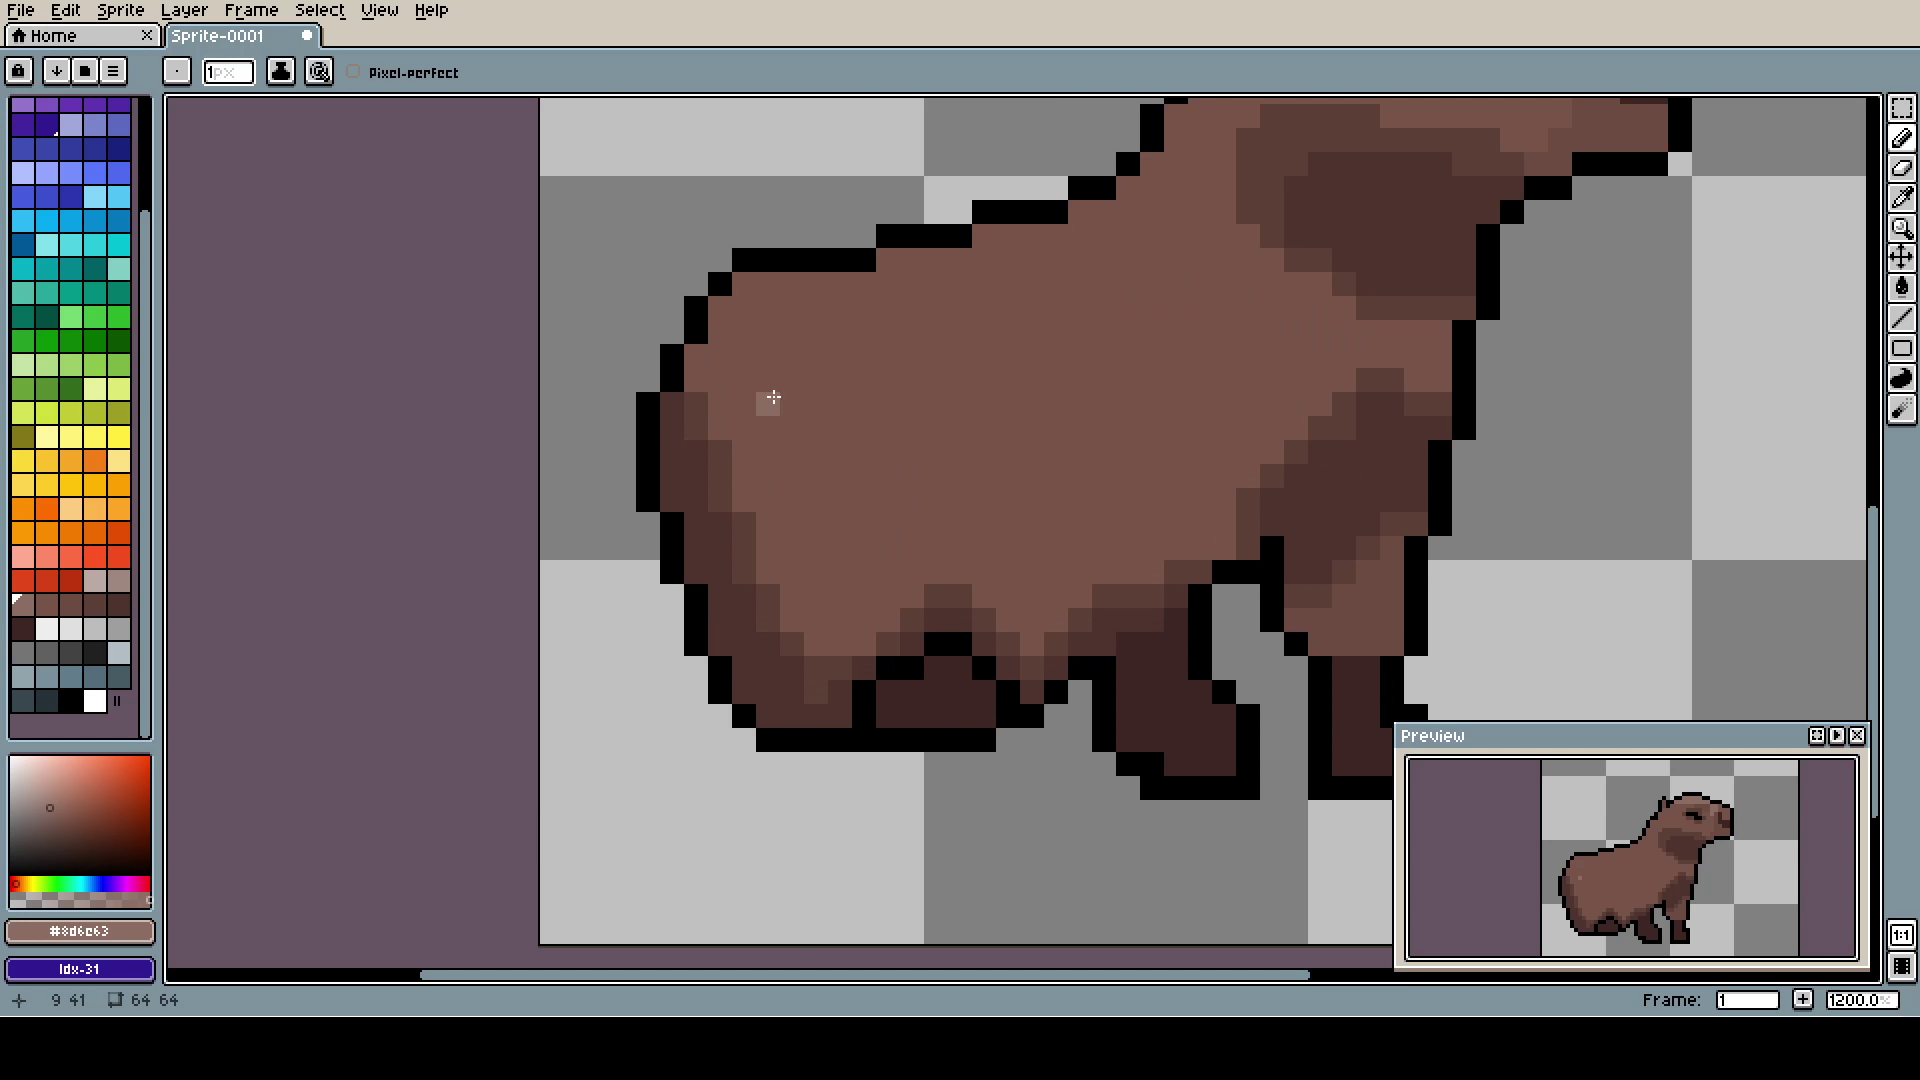
Now the light is all over the place. At least it looks nice, the brown colors are really smooth to look at.
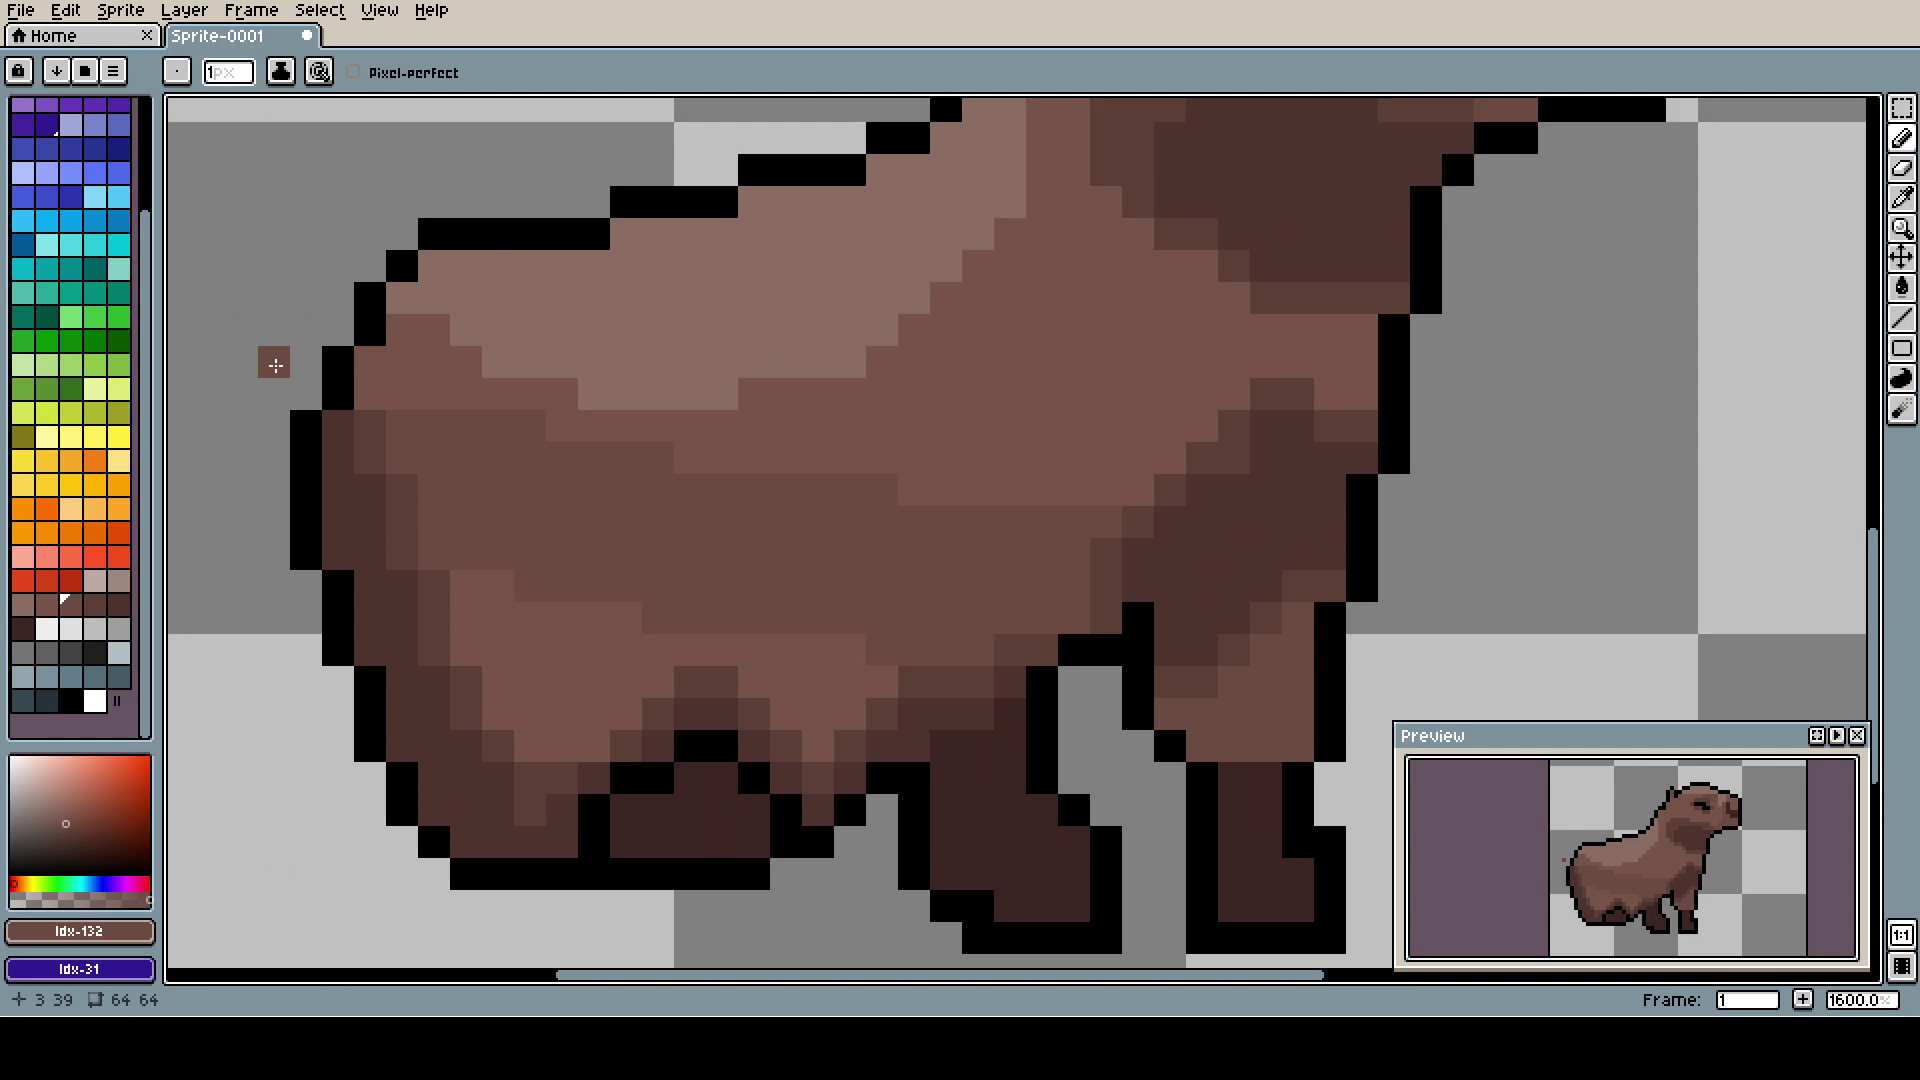
And here the trouble begin. As always, I try to fill the blank spaces. And as always, I go way overboard with it.
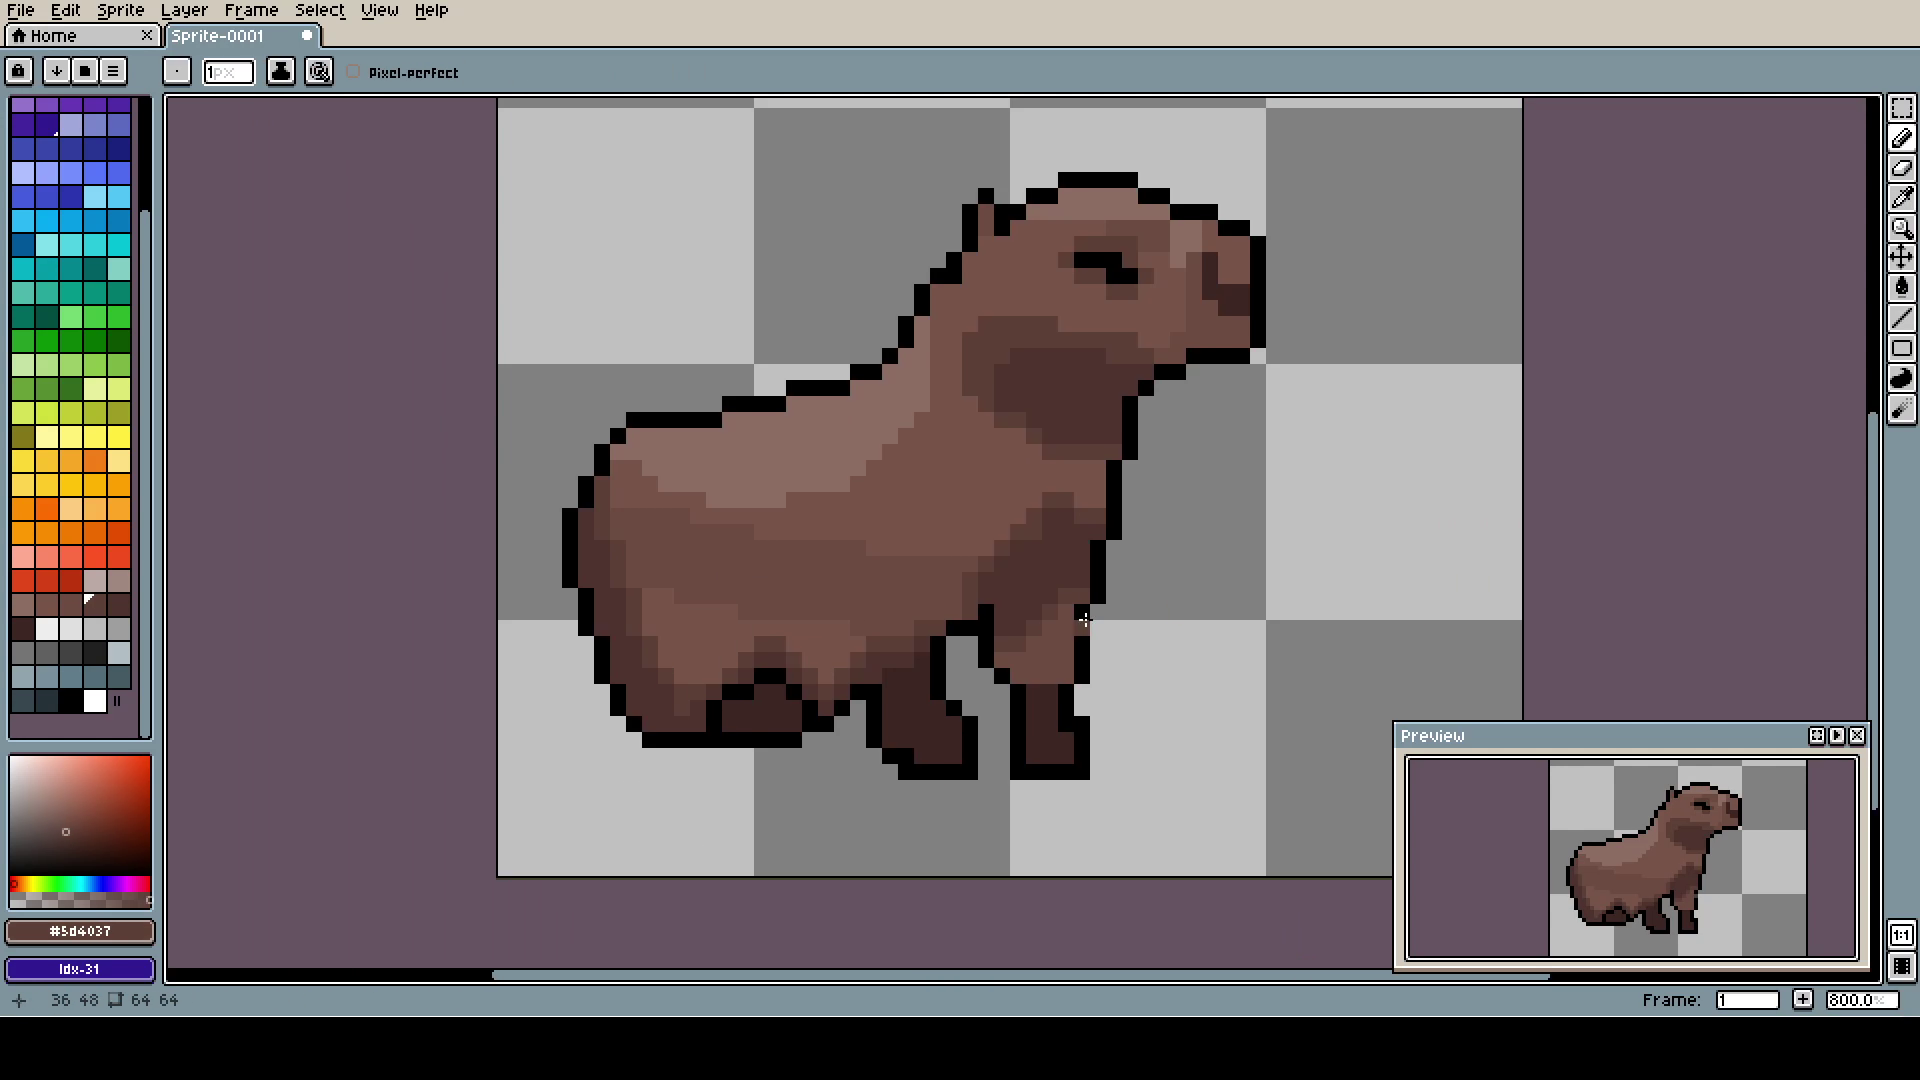
The plus of the new system is that you can see more details. The minus is that, you do not always see the full picture (the little "preview" in the right corner will show it most of the time, but sometimes I change it to show me some part that I want to examine closer). I will try to look for frames with the whole thing on it, but it might not always be possible. As I said, the new solution is better, but far from perfect.
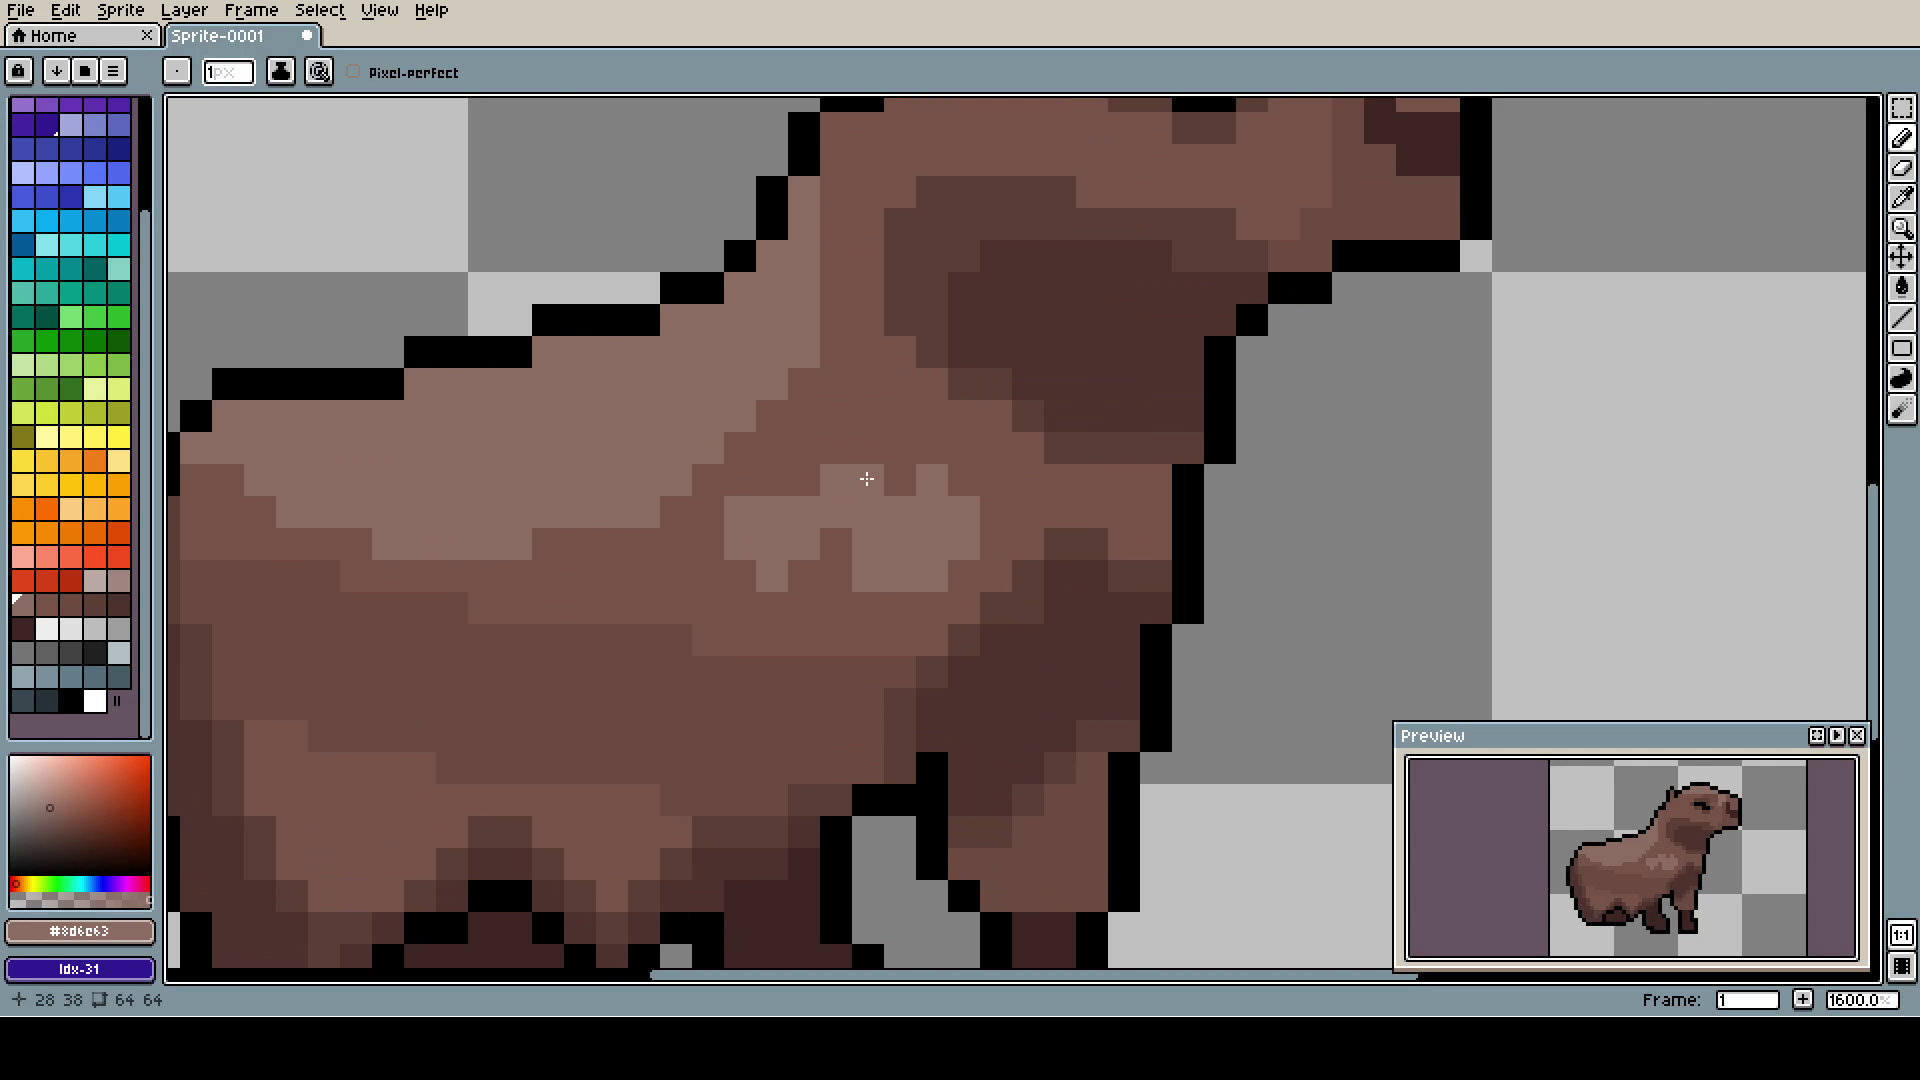
The real madness begins. I very often hyperfixate on, filling every pixel with plain space. That's how the little monsters like this appear.
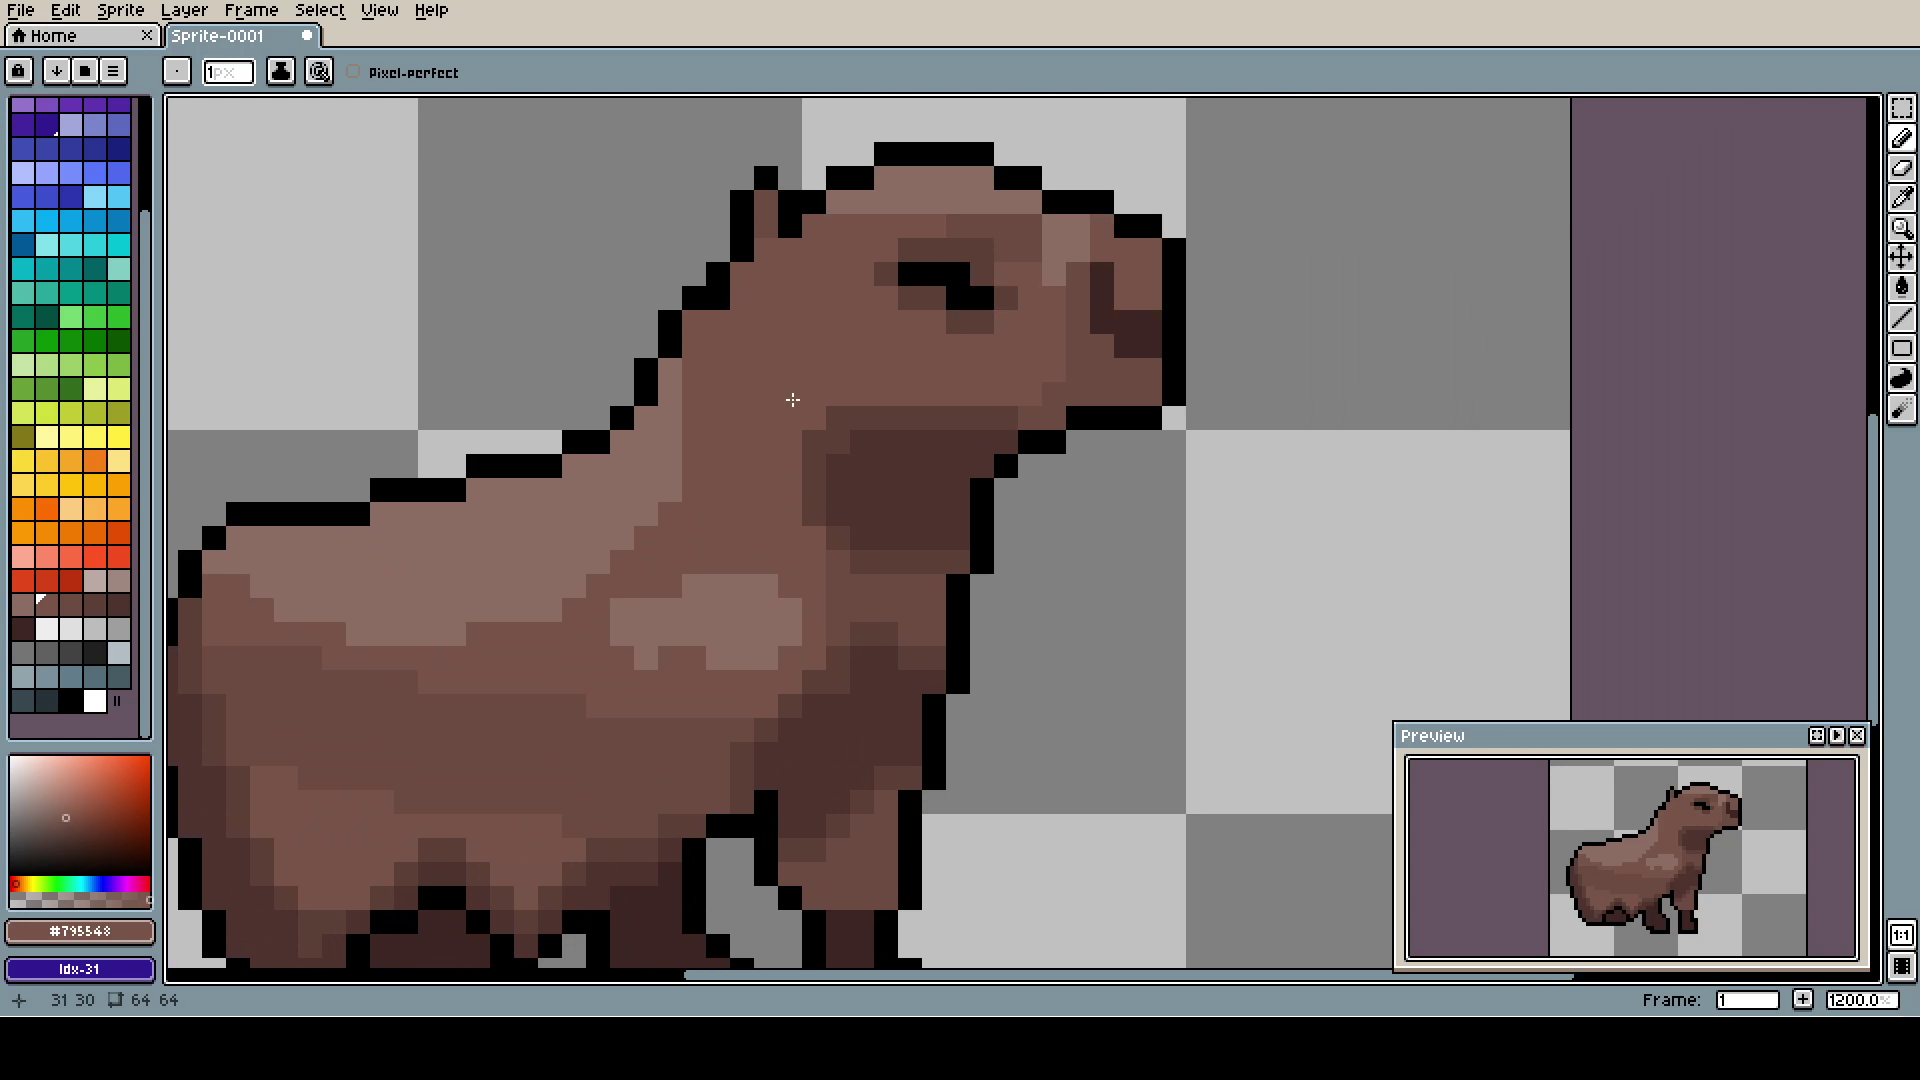
Also, made the stain on the next smaller, it looked like a bruise for me.
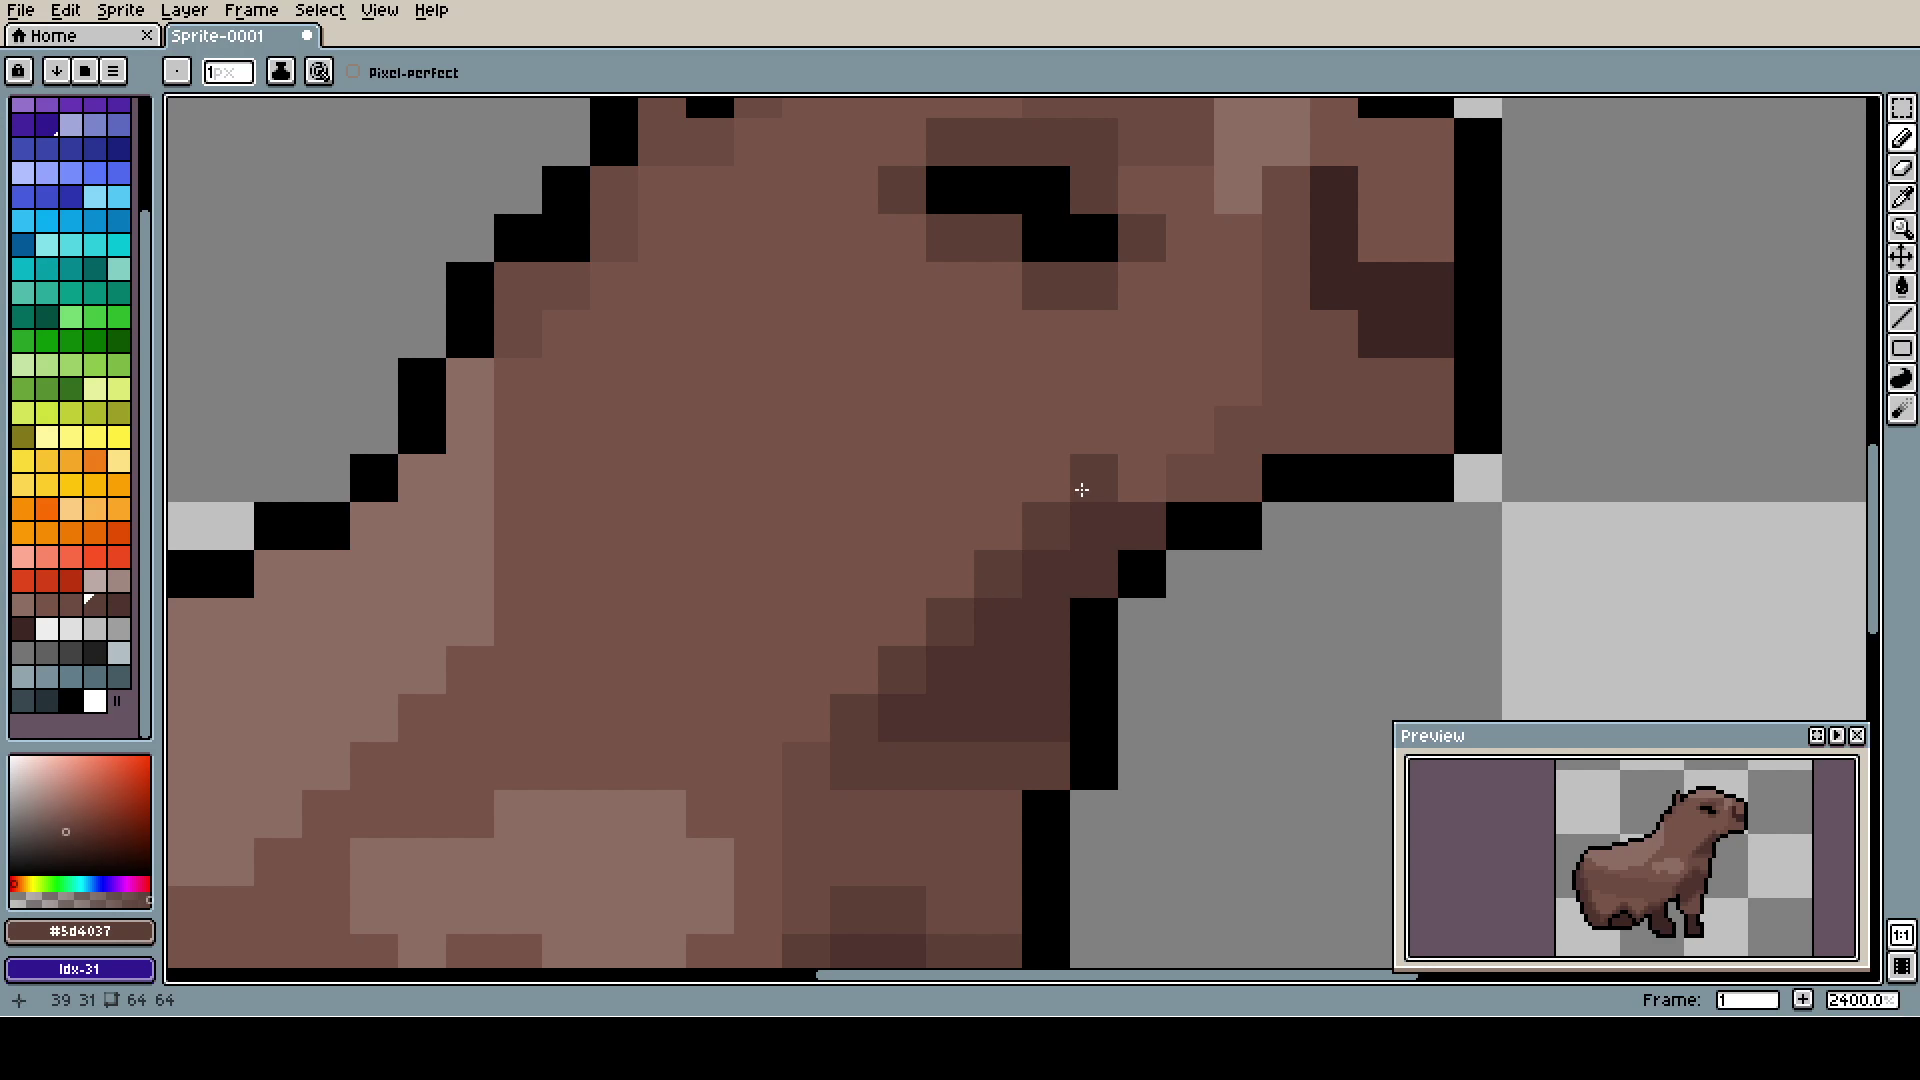
Now the capy has some proper chad chin!
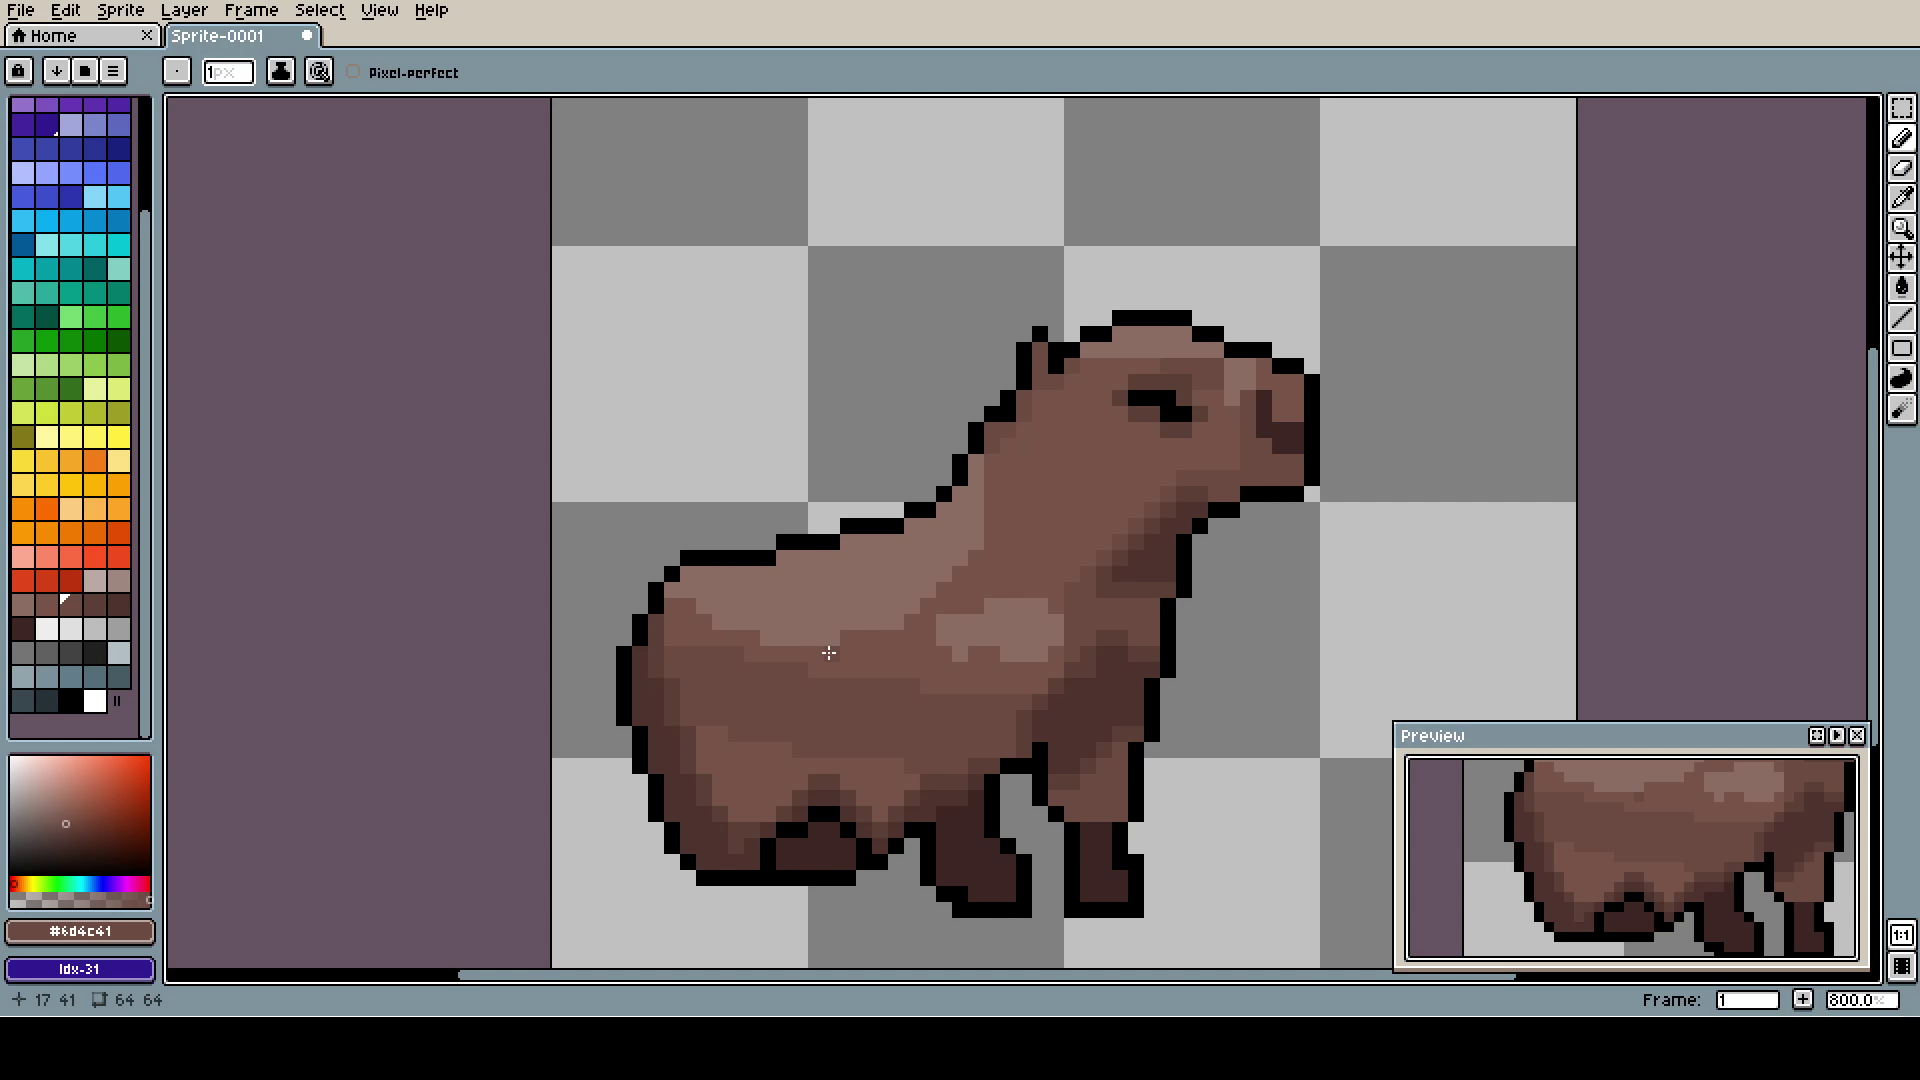
Overall, too clustered for me. The lighter part on the back also looks way too weird.
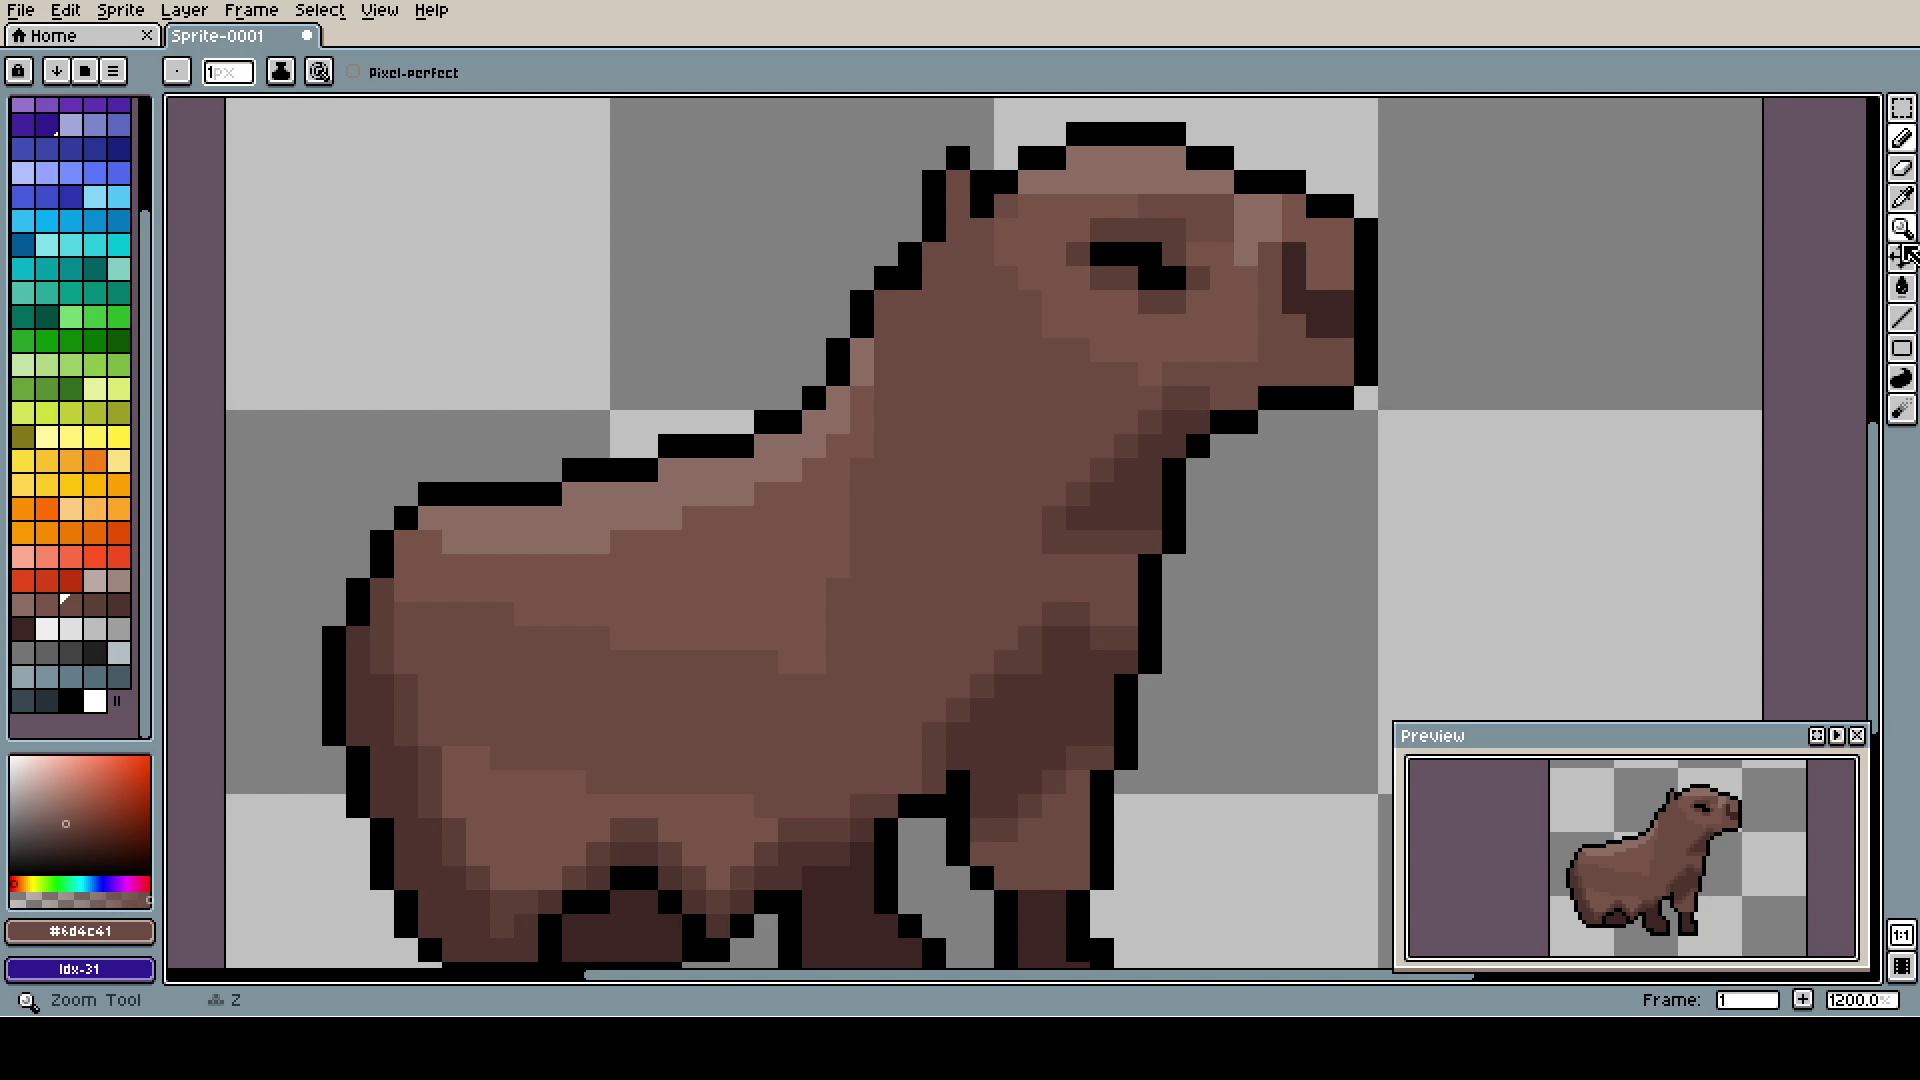
Made the back patch smaller, what made the capy look better. And immediately ruined it with this weird brown neck shade. At this point, you should not be surprised that I have no idea what am I doing.
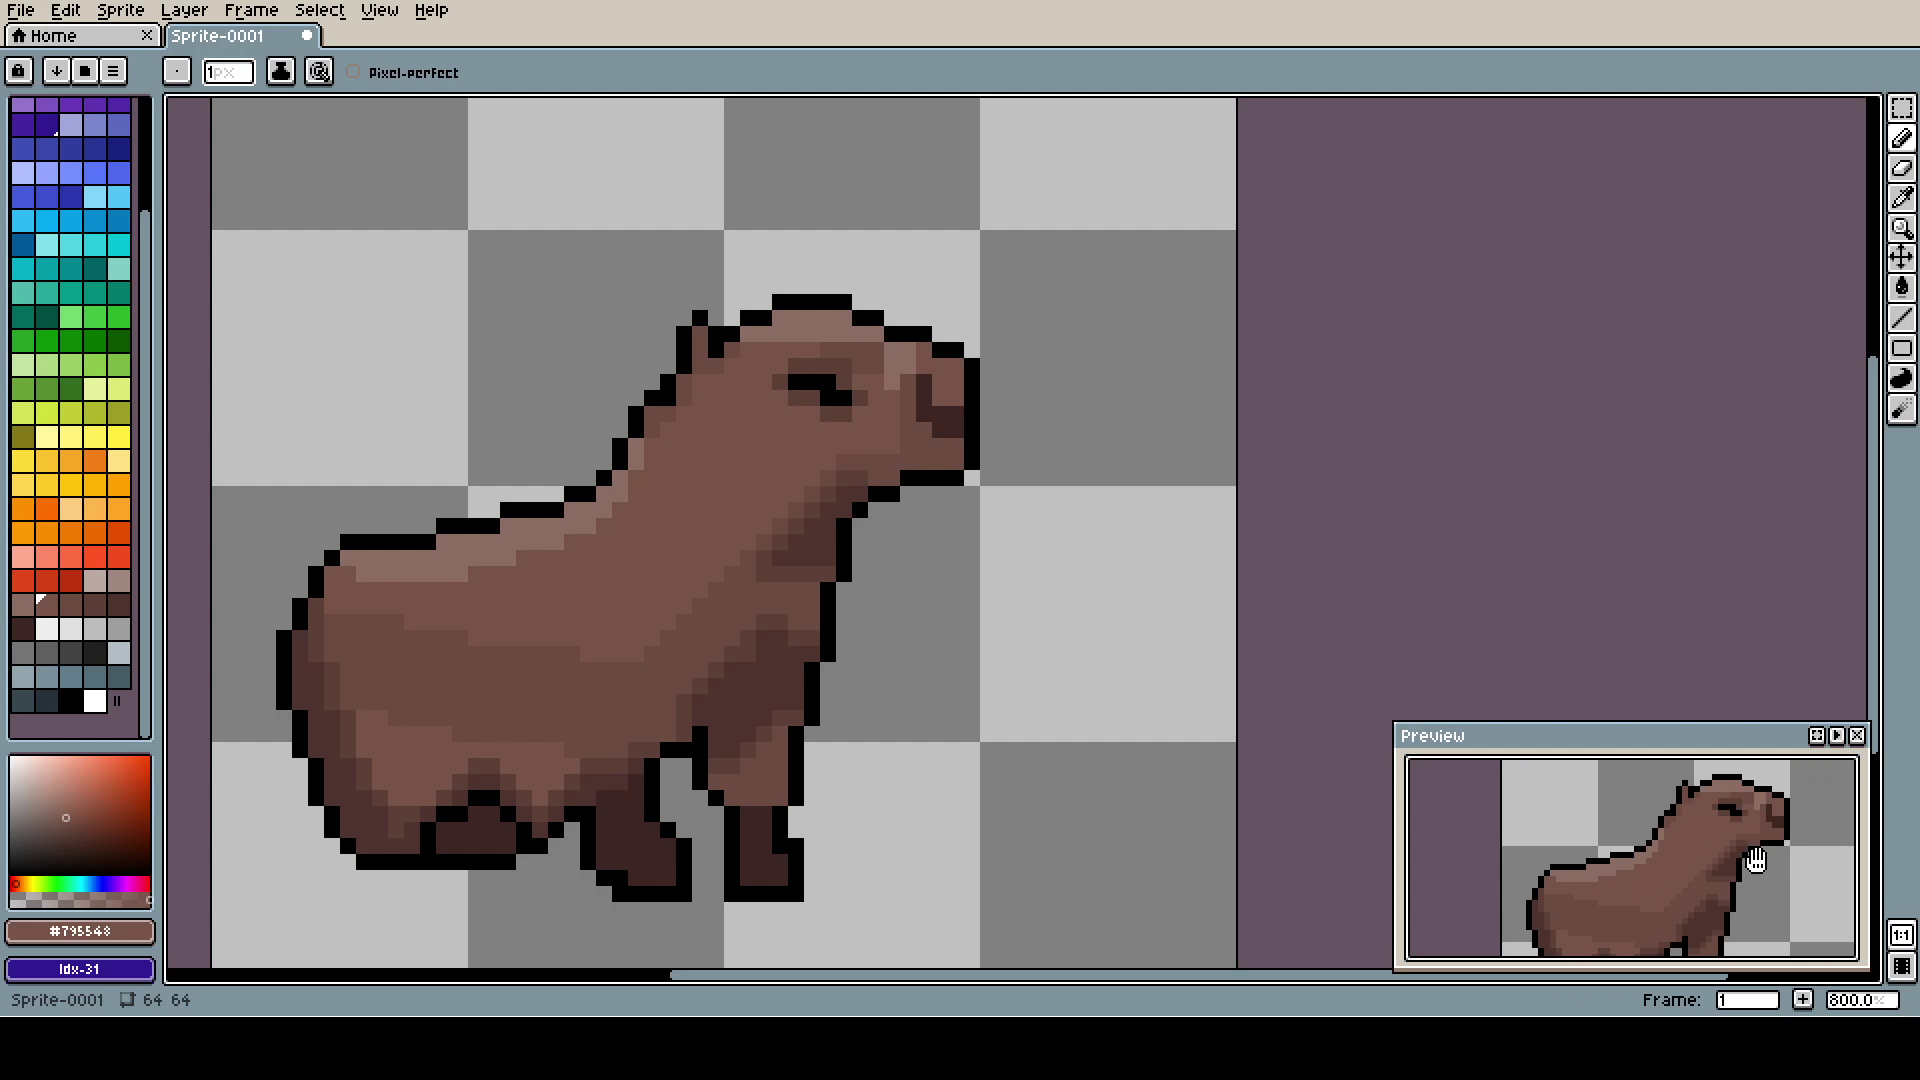
The final piece. For such a long break, it's not that bad. I mean, it's still terrible, but I can see some light at the end of that tunnel (do not get fooled: IT'S A TRAIN, RUN!!!).
Now, it's the time for the great final! The thing that was stopping me for so long!
On Twitter there will be a time-lapse of the full process so you can check every detail yourself!
